Table of Contents:
.jpg)
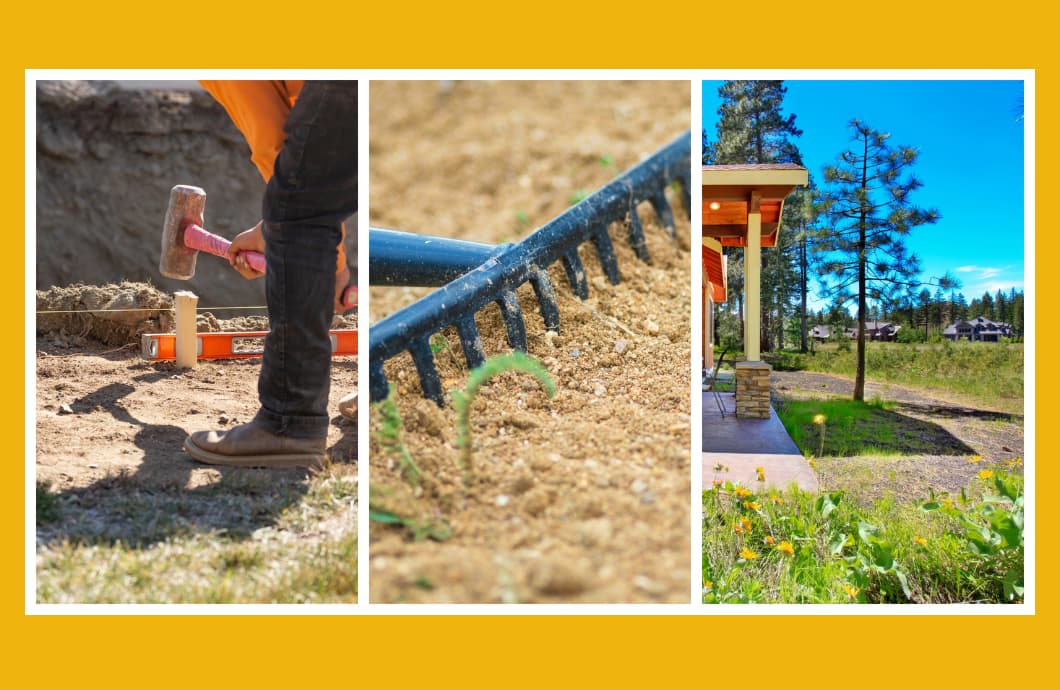
Imagine planning a backyard gathering where everyone's tilting in their chairs because the patio was built on uneven ground. Worse yet, the poor drainage of rainwater may be causing the presence of standing water at ground level on or around your outdoor oasis—causing soil erosion, costly repairs due to water damage to structures, and a breeding ground for pesky mosquitos due water pooling nearby.
But proper yard grading doesn’t have to be a bank-breaking landscaping project.
Let’s learn the best and easiest ways to grade your backyard to afford you proper drainage and a patio that doesn’t make you question your own equilibrium.
“So, how long should grading my backyard for a patio take?”
Expect to spend at least a full weekend on yard grading with additional time for larger or more complex yards. Don’t rush any steps!
Also, plan your yard grading when the forecast is clear to avoid working in mud or having rain undo your hard work.
DIY Costs
Aside from your time, costs can include tool rentals and perhaps purchasing additional topsoil or fill dirt. Expect to spend around $100 to $300—primarily on rentals and materials.
Professional Costs
Professional yard grading can cost between $500 and $2,000—depending on yard size and complexity. If your yard has significant issues, such as large slopes or drainage problems, professional help may be worth the investment.
- Landscaping rake: $25-$50
- Sturdy wooden stakes, 12-18 inches long: $10-20
- A few hundred feet of string, either mason’s line or twine: $5-$10
- String level or builder's level: $30-$60
- Sod cutter (optional): $40-$60
- Plate compactor: for rental: $70-$100/day
- Wheelbarrow: $50-$100
- Shovels and a hand tamper: $20-$50
- Tarps in case of rain (optional): $20-$100 depending on yard size
- Backhoe or mini excavator rentals: $30-300 per hour, depending on equipment and operator assistance
Most of these tools are available for purchase or rent at most home improvement stores. Heavy equipment can be rented from local equipment rental companies, some listing their rentals on online equipment marketplaces.
Step 1: Plan and Design
Before you start making changes to your backyard, you need a plan. To make a plan, you need to understand how uneven surfaces impact the use of the space and water flow (or retention).
Making a Simple Diagram: Playing Battleship In Your Yard
One helpful strategy is making a simple diagram to reference to ensure you don’t overlook any water issues throughout your property.
To do this, measure your backyard to make a scale diagram—feet to inches, half inches, or any equivalent measurement will do the trick. Then, create a grid on your diagram, similar to what you’d see on a Battleship board game.
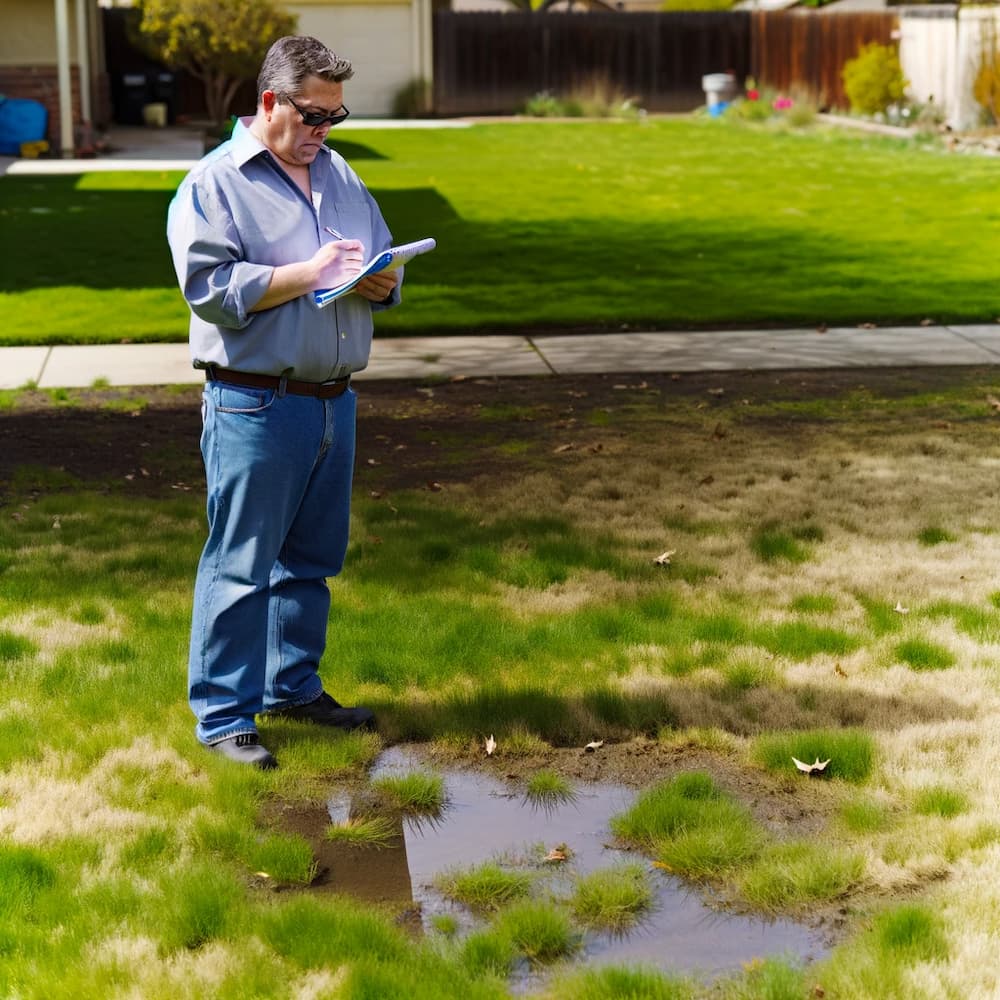
After a heavy rain or a heavy watering with a hose, walk around your yard with a notepad or your diagram, making notes of drainage issues where water is present—either pooling or flowing.
This diagram containing notes about drainage issues or problems with grass growth will inform you about where to place a patio and what low spots of water retention will need the most attention.
Step 2: Calculate the Desired Slope
For patio drainage, a slope of about 1% to 2% is ideal.
This means the patio surface should drop 1 to 2 inches for every 10 feet away from your house or any structures. This mild incline will allow gravity to carry water away from the patio or your house. Such best practices apply to any proper drainage system, such as a French drain or catch basin.
|
Sidenote: Keep in mind that a plan for keeping water from pooling against your patio or home is just one step in proper rainwater management. You will also need to have a plan for how to get water runoff to street storm sewers (and not just your neighbor’s yard—unless you feel like sharing mosquitos with them). For this, installing a proper trench, catch basins, or installing a French drain may be necessary.
|
How to Measure Backyard Slope, Step-By-Step
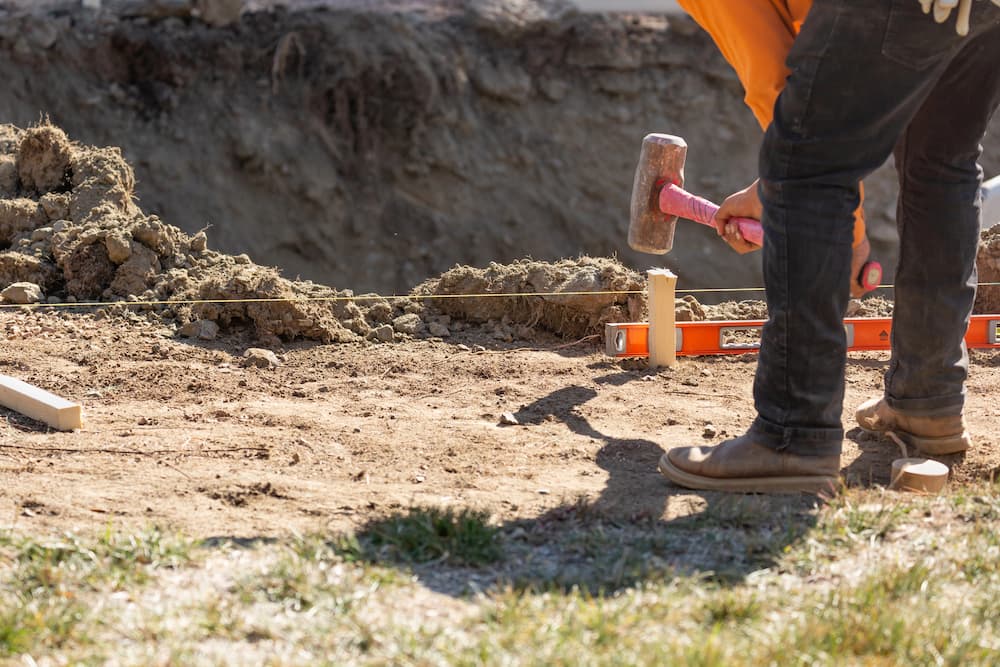
Measuring the slope of the ground using stakes, string, and a level is a straightforward process.
- Gather your materials: You'll need two stakes, a string or twine, a tape measure, and a line level. A builder’s/spirit level will work as well but string levels are better suited.
- Place the stakes: Hammer one stake into the ground at the top of the slope and the other at the bottom. Ensure the stakes are placed securely and are not easily movable.
- Tie the string: Attach one end of the string to the top stake and the other end to the bottom stake. Make sure the string is taut and level between the stakes.
- Attach the string level: Clip the line level near the top stake on the tight string. If you don't have a line level, you can use a builder’s level by placing it on the taut string and ensuring the bubble is centered.
- Measure the distance: Measure the distance between the two stakes along the ground. This is the length of the slope—sometimes referred to as the "run."
- Measure the drop: Move the line level down the string towards the lower stake until the bubble is centered again, or if you're using a builder’s level, adjust its position until it shows level. Measure the distance between the line level (or builder’s level) and the top stake. This is the "drop" or "fall" of the slope.
- Calculate the slope: Divide the drop (or fall) by the distance (or run). Multiply the result by 100 to obtain the slope percentage. For example, if the drop is 1 foot and the distance is 10 feet, the slope would be:: 1 ft ÷ 10 ft) \* 100 = 10%.
Warning: If you need to do any digging, it is important to first check for buried utility lines or pipes!
Is the ground good to go? Ok, it’s time to move some sod.
How to Temporarily Remove Sod
To ensure a level surface and protect your grass when grading your backyard for a patio, temporarily removing sod is important.
Tools needed to do this include a sod cutter (manual or mechanical versions exist) or shovel, wheelbarrow, and measuring tape.
- Mark the area to be graded with stakes or flags, then use a sod cutter or shovel to carefully remove the sod in 1-2 inch deep strips.
- Roll up the sod and store it in a shaded, moist area.
- Keep this sod healthy because you’ll be laying it back down it after the section has been properly graded.
- It is also important not to remove too much soil along with the sod, as this may impact your calculated slope.
Sod set aside? It’s time to get digging!
Sculping Your Backyard Slope According to Plan
Using shovels, equipment, or landscaping rakes, distribute the soil to match your planned slope.
For areas where large amounts of earth needs to be moved, it may be a good idea to rent a backhoe or mini excavator or hire professional equipment operators for heavier jobs.
Periodically check with the level and adjust as needed.
Step 4: Compact the Soil
Once the slope is correct, compact the soil to prevent settling and shifting. A hand tamper is sufficient for small areas. For larger spaces, a rented plate compactor will make the job easier and more effective.
After compacting the soil, remeasure the slope to ensure the compacting process has not altered your intended slope design.
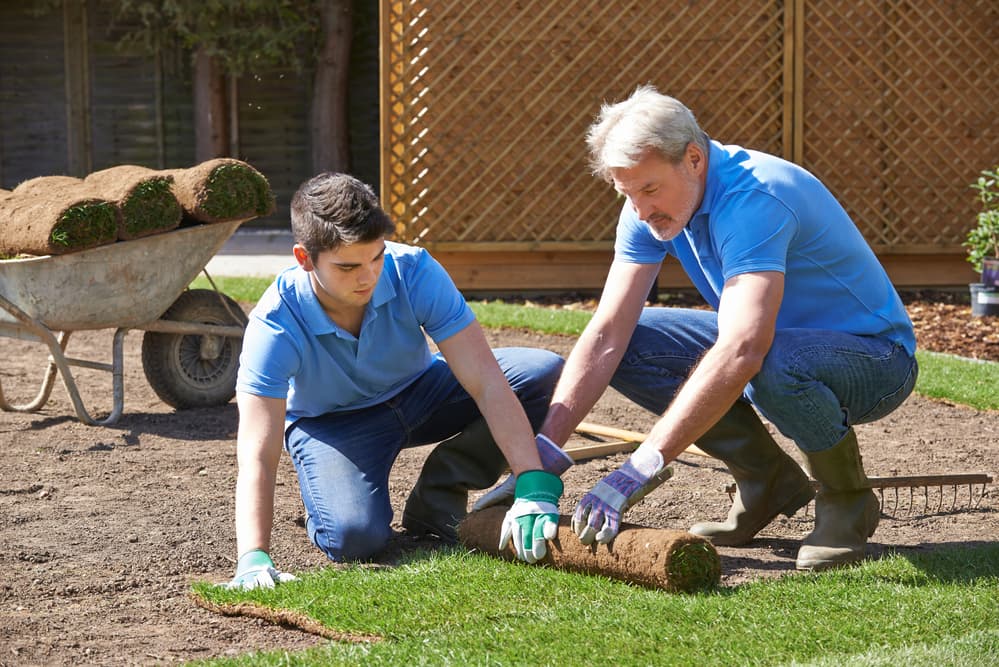
Replacing Removed Sod
After grading and compacting the soil, lay the removed sod strips back in place—ensuring edges align, and pat them down for good soil contact. Water thoroughly for 2-3 weeks to re-establish roots. Gradually reduce watering frequency and increase water volume to encourage deeper root growth.
Dealing with Heavy Clay or Rocky Soil
For tough soils, use a rototiller to break up the earth before grading. This can make leveling much easier.
Unexpected Weather Changes
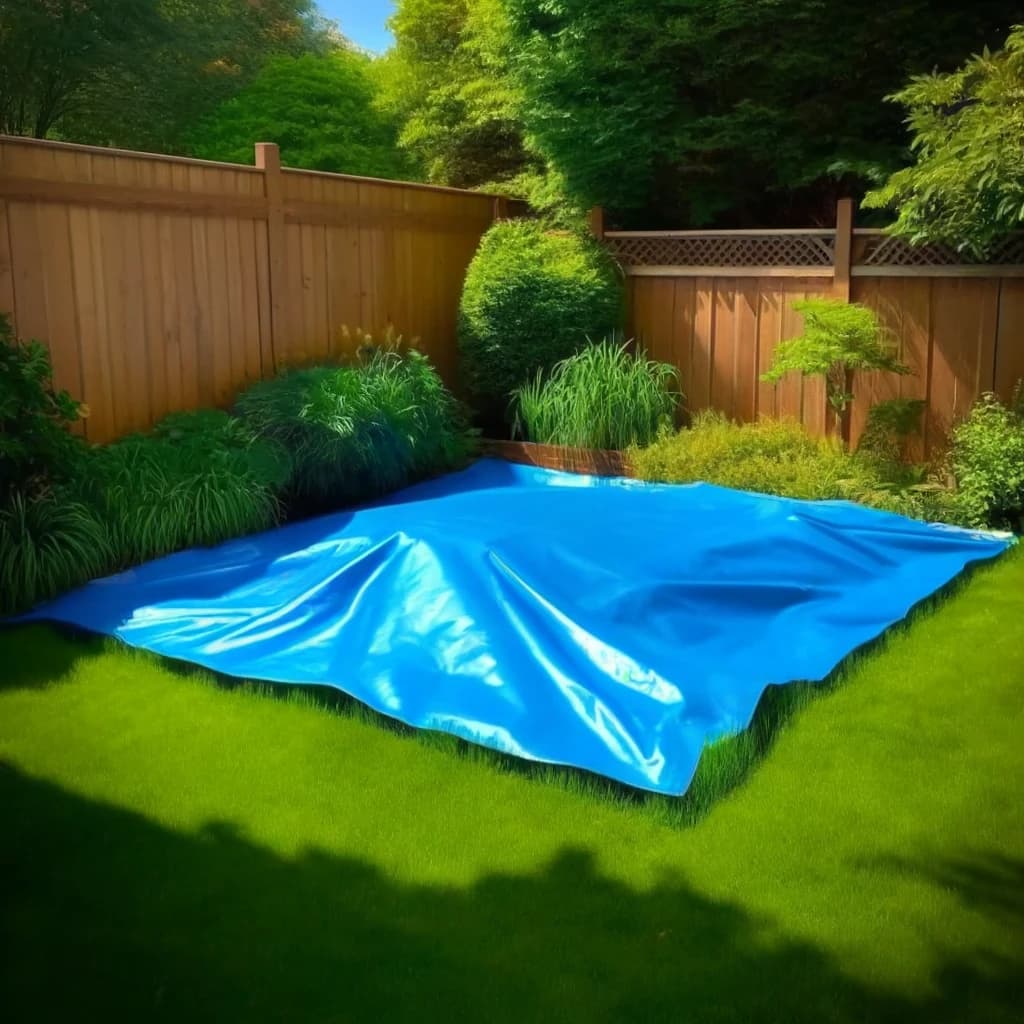
If rain interrupts your project, cover the area with tarps to protect the exposed soil.
Checking Your Work
Once you think you've got the slope right, use a hose to test how water flows over the area. Adjust as needed to ensure proper drainage.
Go Forth and Grade!
With these steps, tools, and tips, you’ll be well on your way to creating a perfectly graded base for your new patio, blending DIY satisfaction with professional-level precision. Your backyard hang-out spot awaits!
Find Landscaping Equipment for Rent Near You
“How can I find landscaping equipment for rent near me?”
Whether you’re looking to buy or rent landscaping equipment from a dealership, company, or private individual near you, My Little Salesman has your back. Using our intuitive marketplace, filter down by any landscaping equipment style, location, price, and much more.
Find Landscaping Equipment For Rent Near You Now